
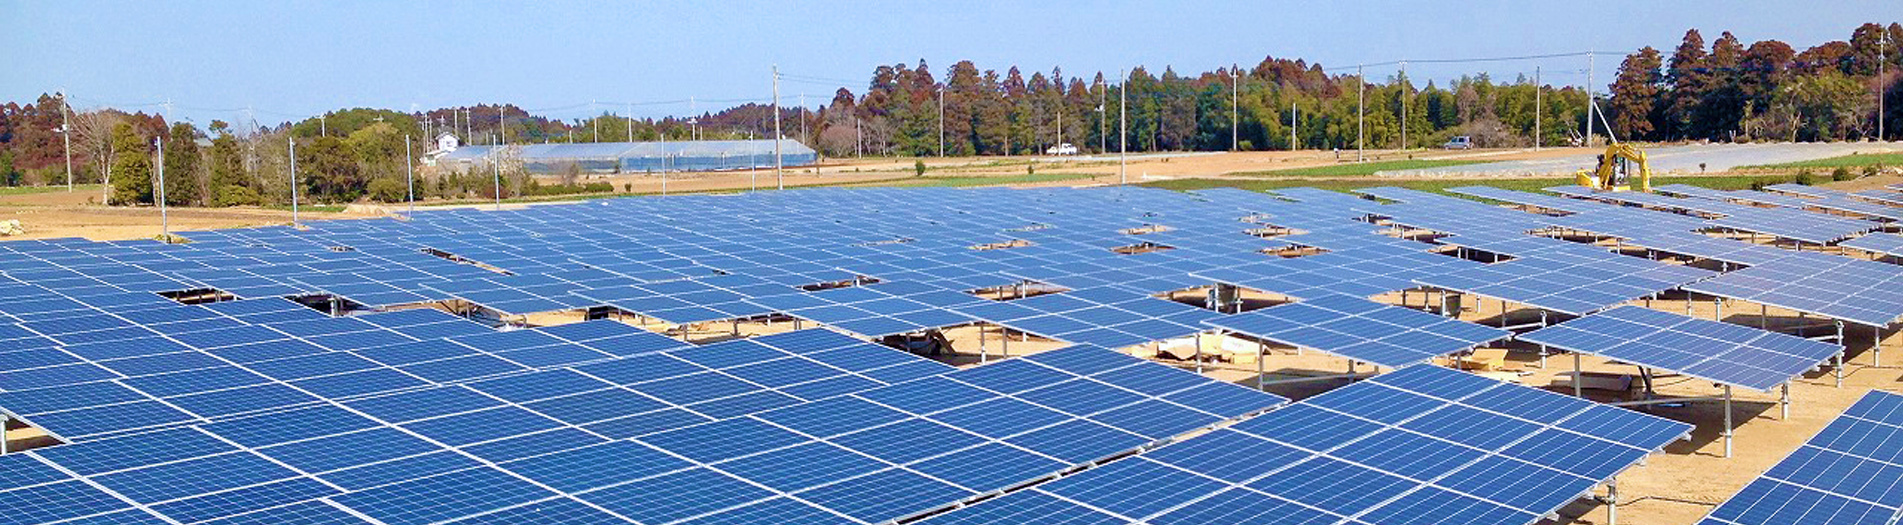
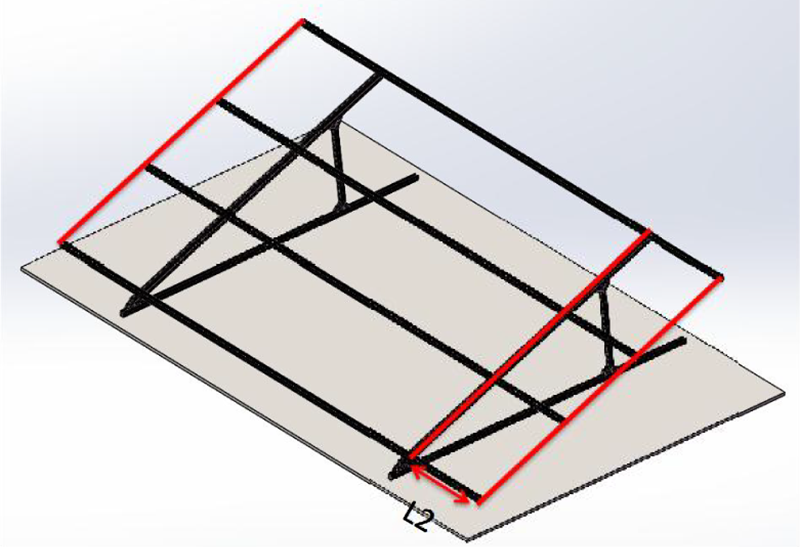
We have many kinds of ballasted solar mounting structure with steel or aluminum material. This article is going to introduce one with special function, which have the adjustable angles and directions. The front view of this type solar mounting as following.

This type mounting consists of only seven parts, which is Pre-assembled Mounting, Foundation, Rail, Inter and End Clamps, Base foot for Mounting and Plastic wing nut. It’s very easy to install it. Let’s see.
Step1. Fixed the foundation
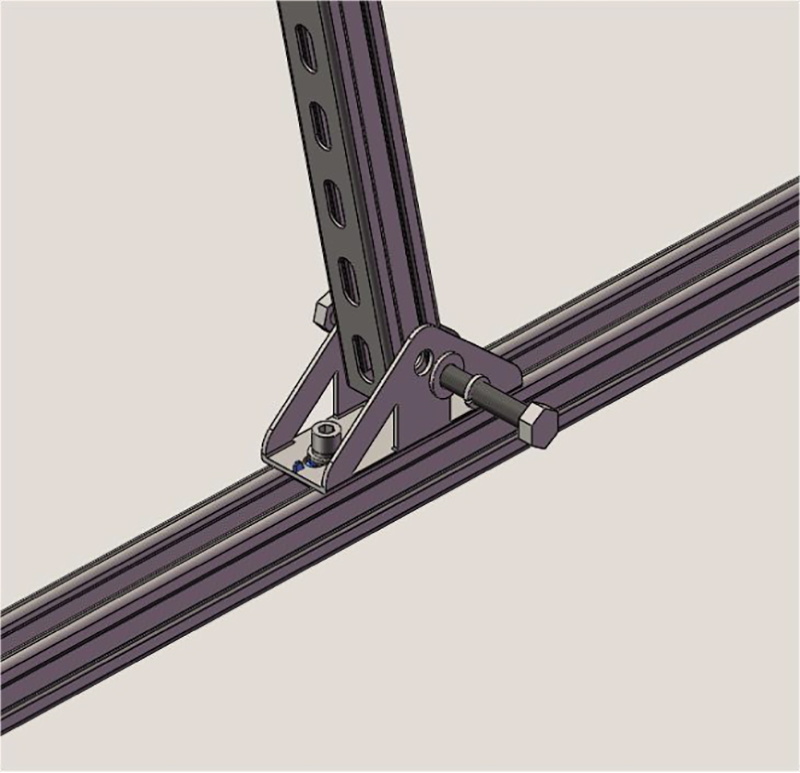
Step2. Install the base foot on the foundation beam.
Step3. Install the pre-assembly mounting on the foundation beam Including of front and rear base feet.
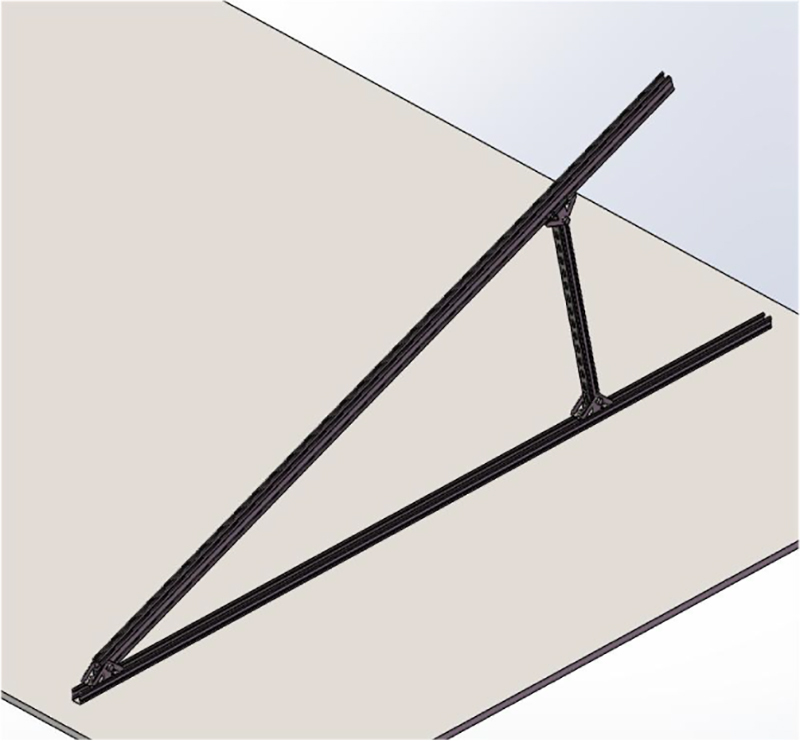
Then this part is done and overview as following,
Step4. Repeat same installation on the another side and keep the top, bottom, left and right sides aligned, then tighten all the screws
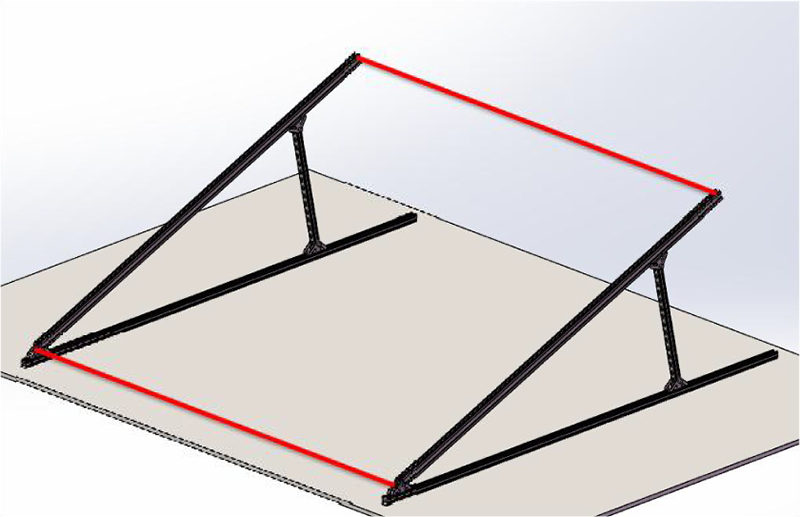
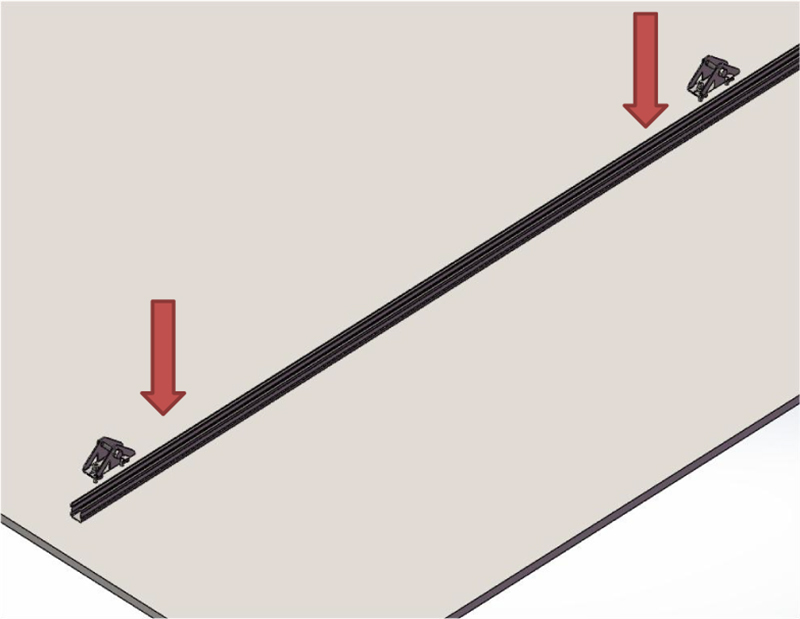
Step5. Place the rail on the sloping beam of the pre-assembled mounting, then fix it with the plastic wing nut. (NOTE: the screw is pre-locked first)
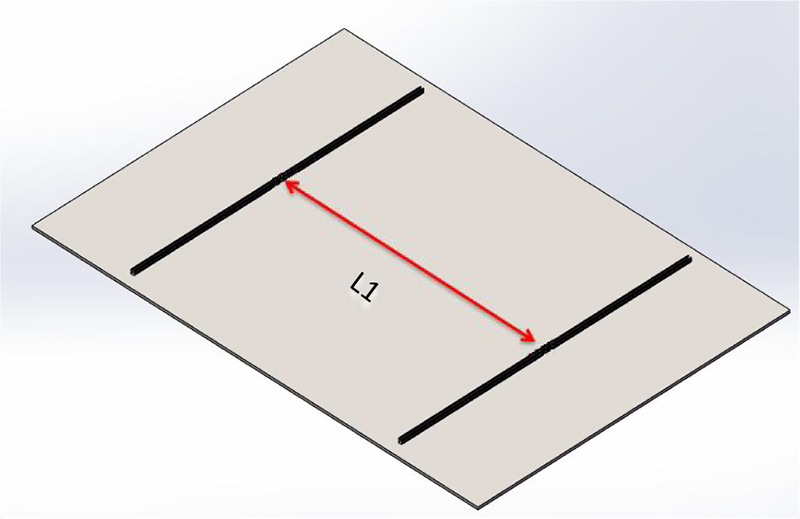
Step6. Repeat same installation for another rails. Both ends of the rail should stay aligned. Tighten all the screws after the rail is adjusted in right position
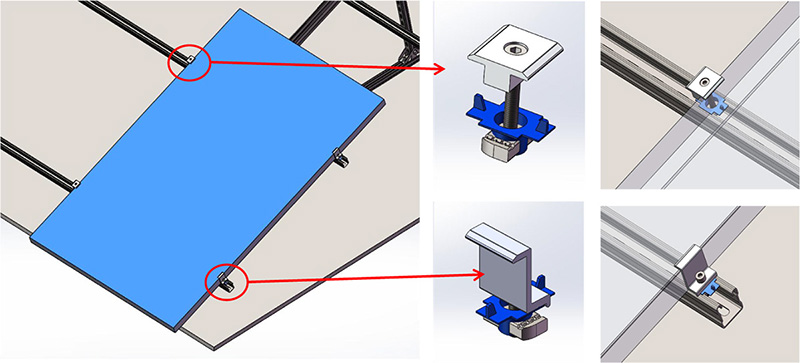
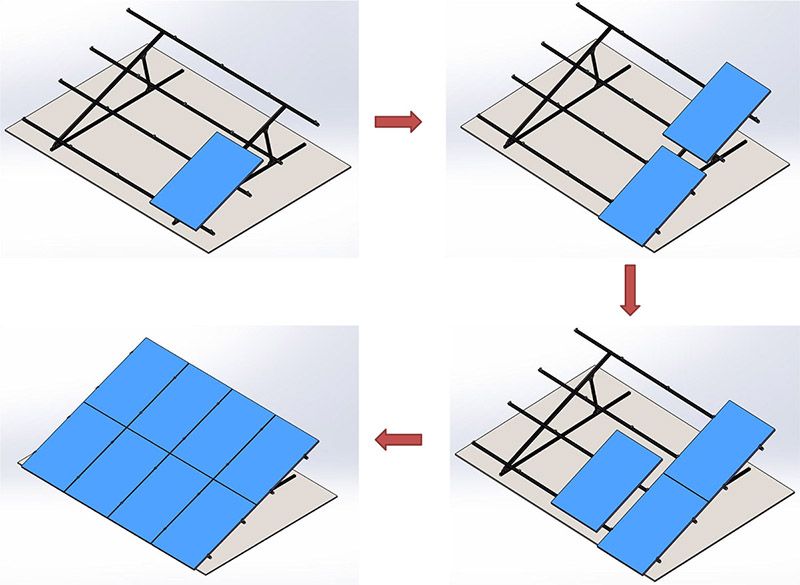
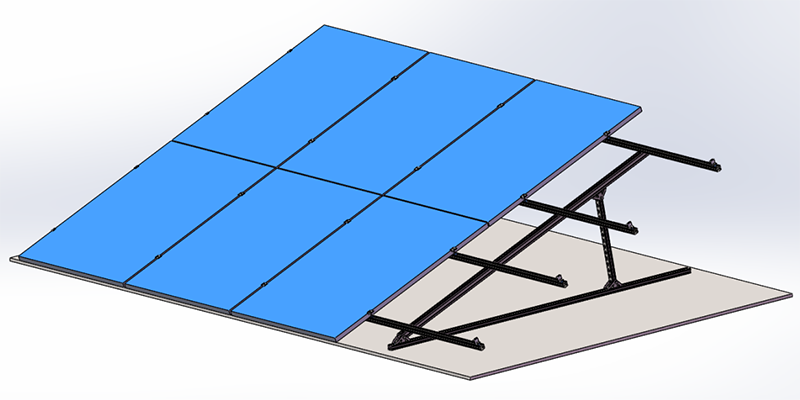
Step7. Install solar panels with inter and middle clamps
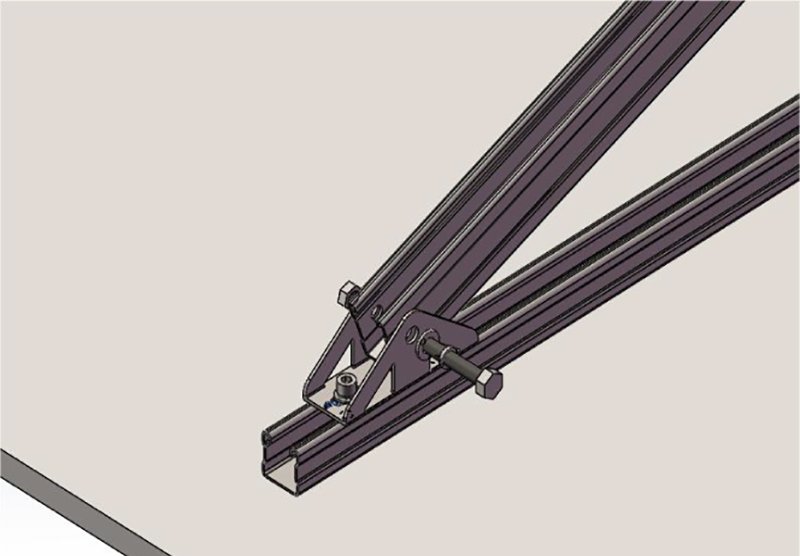
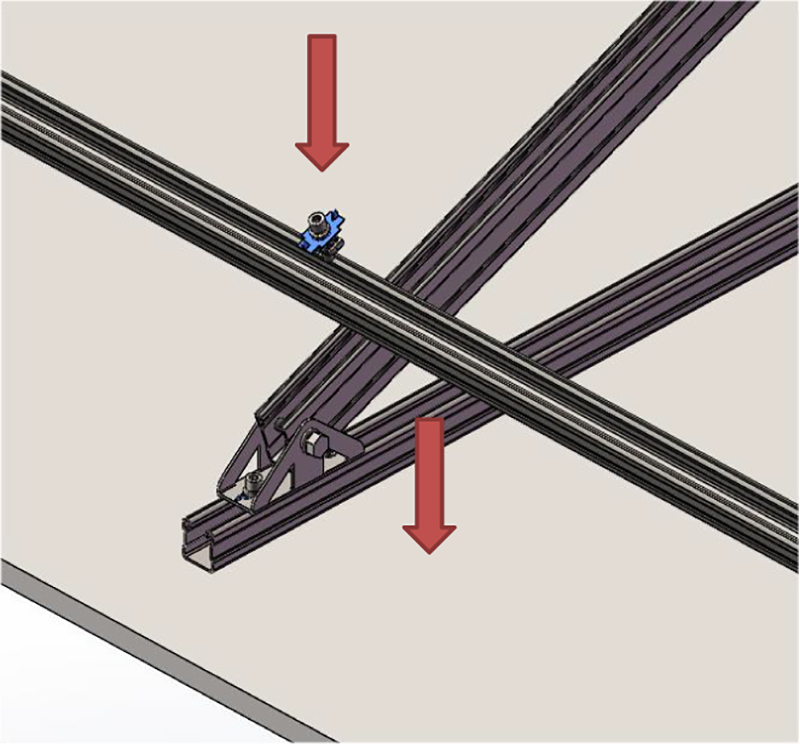
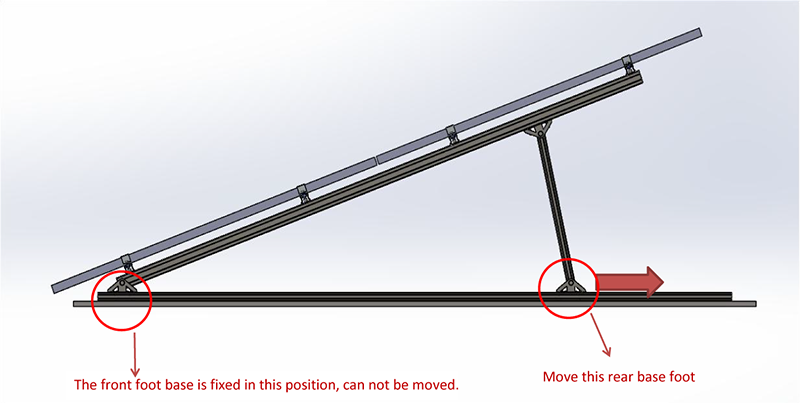
If you want to adjust the angles, please move the rear base foot back to the where you want (the plastic wing nut as a slider). But limit angle is 10°, where below pictures shown. And the other parts don't move.
If you want to change direction manually, please dismantle the base footand re-install into another direction. No need to move foundation beam.
The whole installation has done.
Universe Solar(UISOLAR) is a high-tech enterprise specializing in the development,manufacturing and marketing of PV mounting. With our top quality and service, UISOLAR mountings are welcomed by most of the installers, distributors, and EPC ect. all over the world.
Please read on, stay posted, subscribe, and we welcome you to tell us what you think.


 online service
 +86 (0592)5663849
 sales@uisolar.com
 solar-mount.au
 English
 français
 Deutsch
 русский
 español
 português
 Nederlands
 العربية
 日本語
日本語 한국의
한국의 IPv6 network supported